Key takeaways
- You can take good product photos with your phone, daylight and an uncluttered background.
- Show your product from several angles and in use.
- Adjust the lighting and crop, but keep it natural.
- Strong images build trust and increase sales.
Online, your customer cannot pick up your product — the photo has to do that job. Good product photos are therefore among your online store's strongest sales tools, and the good news is that you do not need an expensive camera or studio. With a modern phone, daylight and a few simple tricks, you can take photos that build trust and sell. This guide shows you how.
Why your photos do the selling
The photo is often the first — and sometimes the only — thing a buyer goes by. A sharp, honest photo builds trust and shows what someone will receive. A dark, blurry or cluttered photo does the opposite, however good your product is. Investing in better photos means investing in more sales and fewer returns, because people get what they expected.
Light matters most
The difference between an amateur-looking and a professional photo is almost always the light. The golden rule: use daylight. Shoot by a window during the day, with the light beside or behind your phone — not directly behind the product. Avoid harsh, direct sunlight (too many shadows) and the built-in flash (unflattering and flat). Soft daylight brings out colours and details best.
Keep the background uncluttered
A busy background distracts from your product. Choose something simple and neutral: a white or plain wall, a sheet of paper or a clean table. A tidy, neutral background makes your product stand out and instantly looks more professional. Keep it the same across your photos so your online store feels calm and cohesive.
Shoot from several angles
Give buyers the same feeling they get in a shop, where they can pick something up and turn it around:
- a main photo taken straight on, with the product filling the frame;
- detail shots of the material, stitching or finish;
- the product in use or being worn, to show its scale and feel;
- for clothing and jewellery: also on a person, so the size is clear.
A simple setup at home
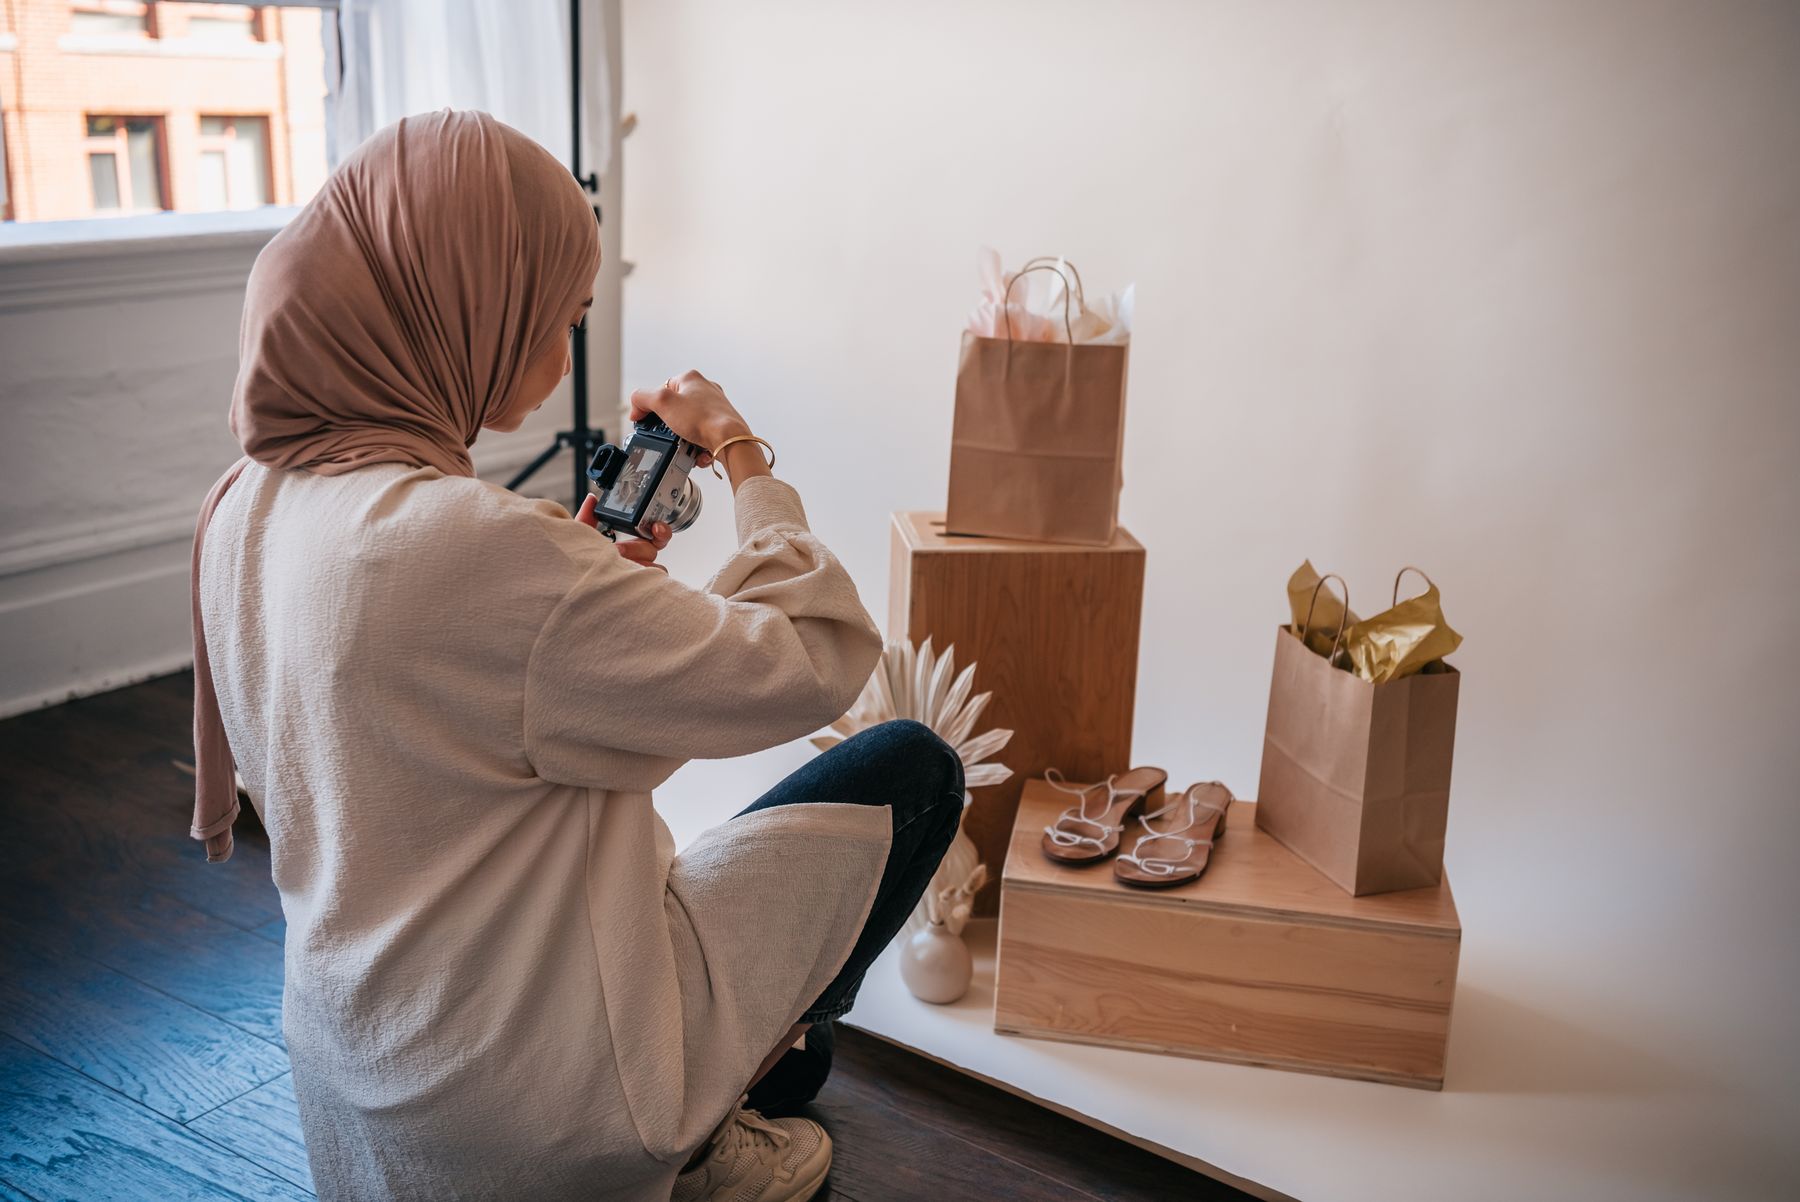
You do not need a studio. A practical setup:
- a table next to a large window, during the day;
- a sheet of white or plain paper curving up against the wall as a backdrop;
- if needed, a second sheet of paper or a white board on the shadow side to reflect light and soften harsh shadows;
- your phone, preferably on a small tripod or propped against something, to keep the photo sharp.
With this setup, you can take a whole set of good photos in an hour — and because you always use the same spot, your photos naturally look consistent.
Tricky products? Here's how to handle them
- Shiny products (jewellery, glass): avoid direct light and strong reflections; soft, indirect daylight works best. Turn the product until the reflections are less distracting.
- Small products: get close, but keep them in focus; also show them in a hand or beside a familiar object so the size is clear.
- Dark products: provide extra light and a light background, otherwise detail disappears into the black.
- Clothing: photograph it being worn or neatly hung up, not in a heap on a table — fit sells.
Edit lightly — but honestly
You can update a photo, as long as the product matches reality. On your phone you can: crop, straighten, and slightly increase brightness and contrast. There are also AI tools that further polish your smartphone photos or make the background neater — see AI for your webshop. Don't make colors look better than they are — that will lead to disappointment and returns. Honest and clear sells better than polished and misleading.
Keep it consistent
Just like with your logo and corporate identity, consistency makes it professional. Use the same background, light and style for all your products. A webshop with photos in one style looks neat and reliable; a collection of photos in all kinds of styles looks messy. You can then also use the same photos on Instagram.
Common mistakes
- Shooting with flash or in low light.
- A busy, distracting background.
- Only one photo per product, without detail or a sense of scale.
- Editing colours so the product looks different from real life.
Frequently asked questions
Do I need an expensive camera for product photos?
No. A modern phone is more than enough. Good daylight and an uncluttered background do more for your photo than expensive equipment.
What is the most important tip for good photos?
Light. Shoot in daylight beside a window, avoiding flash and harsh sunlight. That is what makes or breaks a photo.
How many photos do I need per product?
At least one clear main photo, plus a few detail shots and ideally the product in use or being worn, so its scale is clear.
Can I edit my photos?
Light editing — cropping, brightness and contrast — is fine as long as the product stays true to reality. Do not make colours look better than they are.
How do I make my online store look professional?
By taking all your photos in the same style: the same background, light and angle. That consistency looks polished and trustworthy.
Get started
Find a spot near a window with good daylight, choose a quiet background and take a set of photos of your bestseller: a main photo, a few details and one in use. Touch them up lightly and keep the style the same across all your products. Then put them on strong product pages that sell just as well as your image.